
I finally accomplished a long held goal, sugar cookies with royal icing! Yay! Not only did I make one batch, I made two batches, for two separate events, within a week of each other.

I am now on a sugar cookies sabbatical, at least for a couple more weeks!
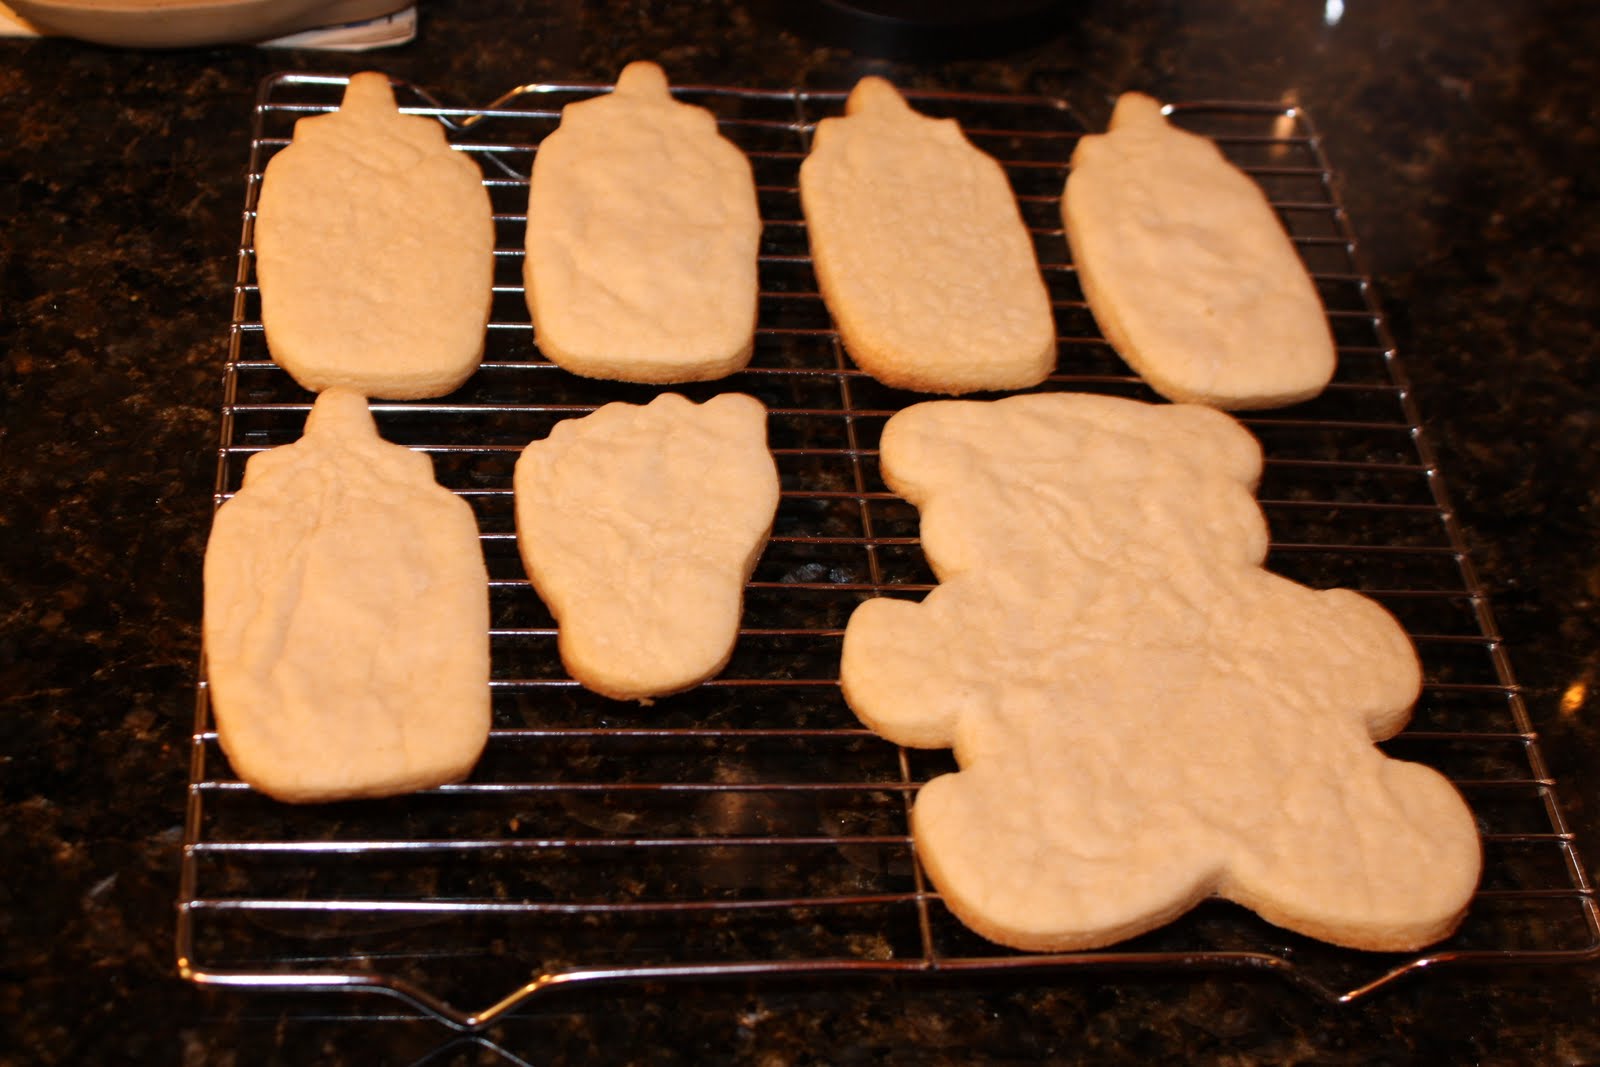
My first attempt at these cookies was for a dear friend's baby shower. She is having a little girl, and all I could think of was pink, pink, pink! I made large teddy bears, baby bottles and little pink feet with painted toes. My friend and I love to get pedicures together, so of course the cookies had to have a perfectly painted pedicure. (OK, 'perfectly' painted is quite an overstatement for my first attempt!)
I have been doing my research for cut-out sugar cookie recipes, royal icing, and getting inspiration from a few of my favorite blogs like Bake at 350, University of Cookie, and Cookies and Cups. These ladies know how to bake a cookie! University of Cookie is a great resource started by Bridget of Bake at 350, and it is loaded with cute videos and helpful tips and tricks! Definitely go check it out if you are venturing into this oddly addictive venture.

My second attempt was for another dear friend's son's first birthday party, and they were a lot of fun to make. The color theme for the party was red, yellow and blue, so I brought those into the cookies by using the paste food coloring in the little tubs which provide a much more vibrant color than water based or gel based food coloring.
Lesson Learned #1:
XX Sugar or Confectioner's Sugar sprinkled liberally on your work surface will make your cookie making experience a lot better, and easier!

Lesson Learned #2:
Cut out your cookies to the same thickness. This is done by either the rings you can put on a rolling pin which will roll out your dough to the same thickness, or if you have two strips of wood (clean wood!) the same thickness, roll out your dough in between these two strips, while using the strips of wood like rails to roll your rolling pin on.

Lesson Learned #3:
Make two batches of dough if you want to have a good amount for a gathering, and chill the dough for at least an hour. I patted the batch of dough into a 6 x 7 inch rectangle, approximately, then wrapped it plastic wrap and put in the fridge.
OK, that was more than just one lesson.
Oh and sift your sugar for your icing!

There are seriously so many things I learned while making these cookies.
The cookies themselves, pre-icing, came out great. I modified Bridget's sugar cookie recipe, and it worked well.
I used vanilla and my secret weapon:

This flavoring gives the cookies an extra buttery, every so slightly citrusy flavor that all melds together for a very. tasty. cookie.
I did add 1/2 teaspoon of salt to one batch as I thought it might need it since I was using unsalted butter. Turns out, it didn't make a difference at all.


I also used Bridget's recipe for royal icing. I used fresh lemon juice in the baby shower cookies, and pure vanilla extract for the birthday cookies. Both tasted great.
So here's the bad news, large teddy bears take extra, extra long to dry! Just plan on a little extra time if flood icing a large cookie. Another challenge I ran into was that some of the cookies, in both batches, had the flood royal icing get little holes or pock-marks, once completely dry. Talk about freaking out! In the end, I think it may have been due to the fact that when I thinned my royal icing, I did not thin it out gradually! Patience is apparently important with royal icing. I was able to embellish some of the cookies with piped icing...

In the end, each batch took a full three nights to complete.
Night 1: Make dough and chill. Cut-out and bake.

Night 2: Make royal icing, outline cookies and flood ice cookies

Night 3: Do detailing of cookies, embellish etc. Let completely dry overnight if needed.

Phew!


Best Cookies EVER!!! Thank you so much for making them for Ryan's birthday. They were a big hit!
ReplyDeleteYour cookies are adorable looking. And thank you for your tips, will be a great help when I attempt to make some cookies for my grand daughters 3rd birthday next week.
ReplyDelete